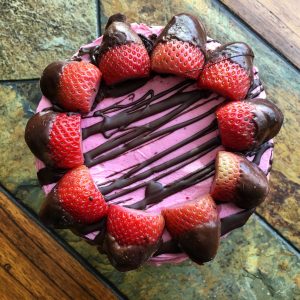
Happy Friday everyone! While most of you are out and about enjoying the start of your weekend, I’m at home eating a giant slice of cake and I couldn’t be happier!
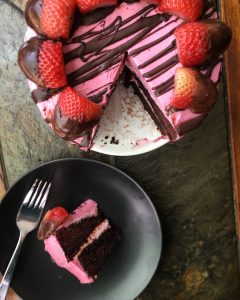
This Chocolate Covered Strawberry Cake is so good! I guess, technically, it’s more of a strawberry covered chocolate cake…and, to be more technical, there’s actually no strawberries in the recipe besides the ones on top!
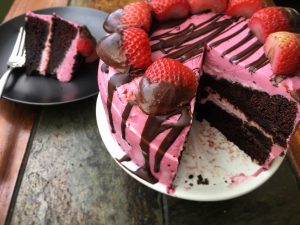
Strawberries didn’t provide the pink color I was looking for so I used beets as a natural food dye to give the frosting this beautiful pink color. Seriously though, can we just take a minute to admire this color?!
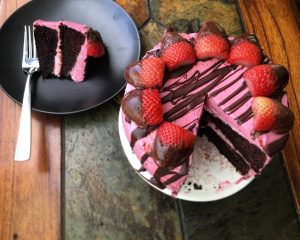
Other than the aesthetics, this cake is also quite delicious ridiculously delicious!
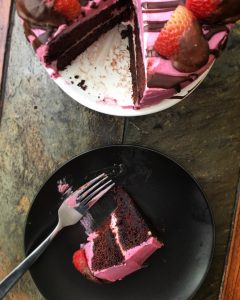
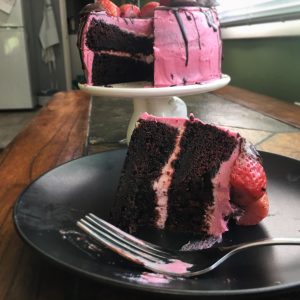
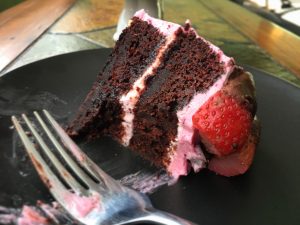
The cake is boldly chocolaty, soft, moist and the perfect balance of light and dense. The frosting is super creamy, vanilla-y and light. The strawberries on top go really well with it all so don’t skip it!
When you make it, I’d love to hear about it! Snap a photo and tag @bunnysbite so I can see your results
Enjoy!
Chocolate Covered Strawberry Cake (V/GF)
This cake is boldly chocolaty, soft, moist and the perfect balance of light and dense. The frosting is super creamy, vanilla-y and light. The strawberries on top go really well with it all so don’t skip it!
Ingredients
Cake
- 1 cup gluten free all-purpose flour
- 1 cup beet sugar
- 1/2 cup almond flour
- 1/3 cup unsweetened cocoa powder
- 1 tsp baking soda
- 3/4 tsp fine sea salt
- 1/2 cup non dairy milk (I use almond milk)
- 1/3 cup melted coconut oil (cooled down to room temperature)
- 1 tbsp apple cider vingegar
- 1 tbsp vanilla extract
Frosting
- 2 14 ounce cans full fat coconut cream, chilled for at least 24 hours (Use the hardened cream ONLY, not the liquid)
- 3 tsp maple syrup
- 1 tsp vanilla extract
- 1 small-medium sized beet (for pink coloring)
Garishes
- fresh strawberries or chocolate covered strawberries cut in half
- melted dark chocolate to drizzle
Instructions
-
Preheat oven to 350 degrees F and lightly grease TWO 6” round spring-form pans.
-
Start by preparing the natural food dye for the frosting. Bring a pot of water to a boil. Add the beat to the boiling water and boil until tender [usually, 30-45 minutes, depending on the size of the beets]. Boiling can take up to 60 minutes for larger beets. Drain and run cold water over the beet. The skin will slip right off with the root ends. I suggest wearing rubber gloves during this process to avoid staining your hands! Transfer the beet to a food processor along with some water (enough to thin) and process until smooth and runny. Set aside.
-
In the meantime, make the cake. In a bowl, mix together dry ingredients. Set aside.
-
In a separate large bowl, whisk together all of the wet ingredients until smooth.
-
Gradually add dry ingredients to wet ingredients and mix together until combined. Don't over mix!
-
Pour batter evenly between the the two prepared pans.
-
Bake until a toothpick inserted in the middle comes out clean, 25-30 minutes. Allow cakes to cool completely before frosting and layering.
-
While the cakes are cooling, make the frosting. Beat the coconut cream with an electric mixer for a few minutes until creamy. Slowly add the syrup and vanilla while beating. Then, stir in a few drops of the beet liquid until combined. Store in the refrigerator until ready for use.
-
To assemble cake, spread a thick layer of the frosting on the first cake layer, then add the top layer of cake, then fully frost the cake. Top with strawberries and chocolate drizzle.
-
Slice, serve and enjoy! Store leftovers at room temperature for up to 5 days.
Don’t miss out on my other recipes! Check out my Candy Cane Cupcake, Spicy Chocolate Cake with Jalapeño Avocado Frosting and my Chocolate Fudge Pop Tarts!
